Six Nature Photography Tips from the Experts, for Your Alaska Travel and Beyond
The state of Alaska has played muse to many a photographer, both amateur and professional.
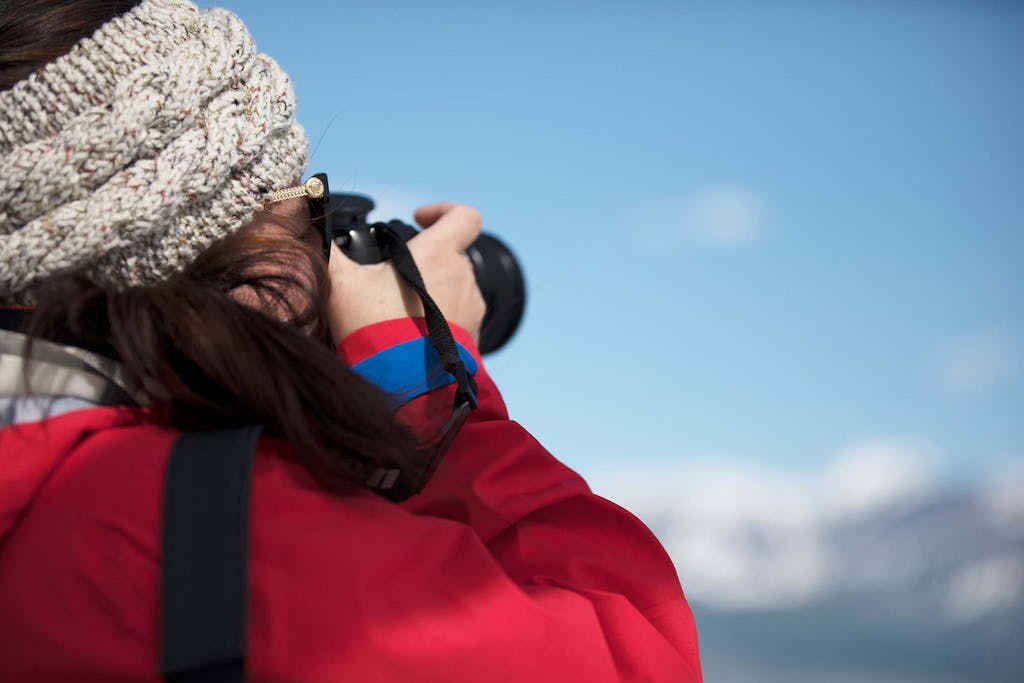
Successfully photographing Alaska from a cruise ship or on land calls for patience, planning and proper gear. It’s also essential to remember that the exquisite photos in publications like National Geographic — from robin egg-blue glaciers to bears fishing and puffins mid-flight — come courtesy of years of practice and, often, pounds and pounds of equipment. And nature photography can be tricky to master.
Documentary photographer Brian Adams, editorial and commercial photographer Mark Meyer,and editorial and commercial photographer Nathaniel Wilder have each spent countless hours watching and waiting for their next perfect shot. Even with years of experience, they acknowledge that Alaska photography will always be a challenge. “Alaska is a huge state with lots of complexities,” explains Adams. “It’s impossible to see everything the state has to offer in one trip.”
These seasoned Anchorage-based photographers have some suggestions on the best camera gear for an Alaska cruise. Read on for their six essential Alaska photography tips to help you get the most out of your visit.
1. Choose your lenses wisely
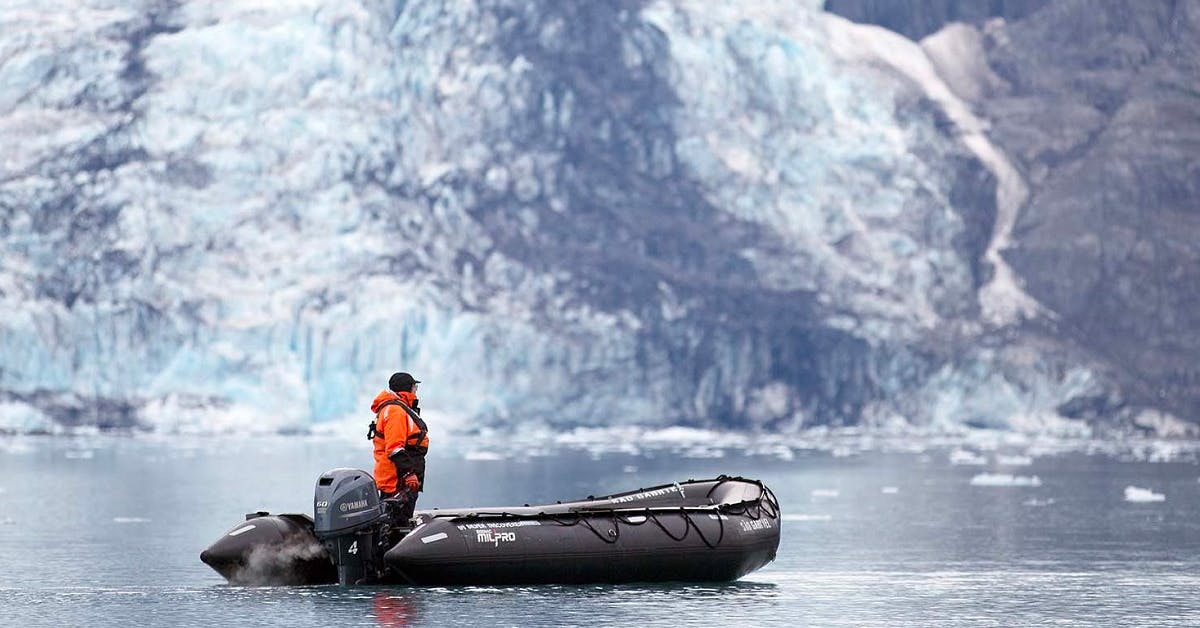
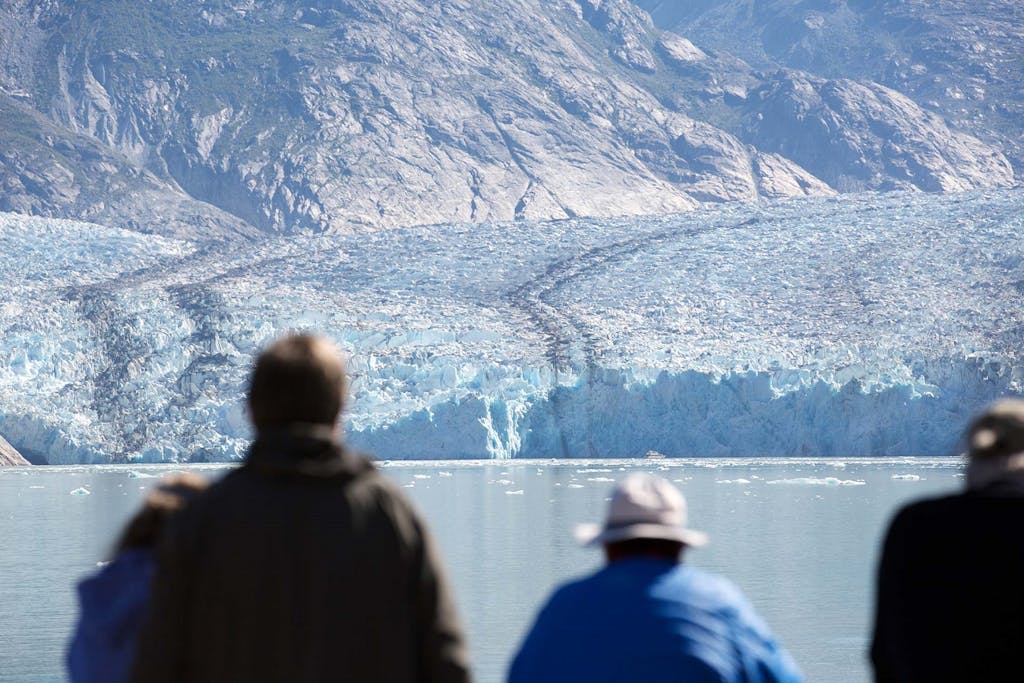
One of the challenges of packing photography gear for Alaska is determining what, exactly, you need to bring. Photographing bears in Alaska or seabirds require lenses that will produce a tight focus. But for massive geographical features like the spectacular tidewater glaciers that seem to spill down valleys into the ocean, that tight focus won’t even begin to tell the full story.
For capturing the perfect shots of animals, Mark Meyer suggests travelers pack the longest lens they can afford. Nathaniel Wilder adds, “A 100-400mm lens [can capture] wildlife without too heavy (or too expensive) of a setup. A 1.4x teleconverter can add more reach for less cost. “
If you’d rather pack lighter and travel with just one lens, Adams suggests his go-to glass for wildlife — the Canon 70-200 F2.8. “It’s wide enough for landscapes and getting up close to the action,” he says. “But if you were planning on trying to photograph bears, I would recommend something with a little more reach.”
If you’re ready to invest in a super-long lens (or don’t think you’ll need one after your trip), consider renting one. Anchorage-based Stewart’s Photo Shop is an option in Alaska, but there are also out-of-state companies like Borrow Lenses or Lens Pro to Go.
2. Carry the camera bag that will keep you comfortable
Select a camera bag that will help you travel without producing any back or shoulder pain. For Meyer, that usually means a camera-specific backpack, especially if hiking is on the itinerary. If you really want to pack light (or just carry a lighter load for a day), Meyer also advises using a holster that snugs the camera to your chest. Don’t forget a waterproof cover for your bag to protect from rain or splashing water when you’re out on a small boat.

3. Look forward to your new favorite places
From Southeast Alaska to points on the Aleutian Islands, the Alaskan landscape and way of life change far more than most people expect and offer practically endless nature photography inspiration.
Adams, for example, loves exploring and photographing the city of Sitka on Baranof Island in southeast Alaska. “There you can walk through the totem park, eat well and go on many adventures,” he says. “There’s everything from flight tours, fishing, kayaking and boat rides.”
Another location photographers consistently laud is Dutch Harbor in the Aleutian Islands. “Explore the many hiking trails, go to the museum, find a way out in a boat and walk remote beaches,” says Wilder. “Dutch can be beautiful any time of year.”
4. Keep your camera safe in extreme weather
Condensation in cameras can, quickly, put an end to your photo tour of the state. Sudden changes in temperature or humidity can quickly fog lenses or the viewfinder or, far more troubling, introduce moisture into the delicate interior of your camera. When it’s warm outside, leave your camera in the bag for around 30 minutes before you remove it to start shooting. That will allow the camera’s temperature to warm up from cooler indoor temperatures. Also, take precautions when cold weather unexpectedly moves in, and you’re caught outside with your camera gear for a long time.” Be sure to put your camera back in your camera bag [before going inside],” cautions Adams. “Let the camera adjust back to room temperature in your bag.”
5. Remember the little things
Those traveling to Alaska should bring many memory cards, says Meyer. Photographing glaciers, fast-moving birds or just snapping pictures from a great distance can be challenging. Packing extra memory cards will make it easier to spend more time shooting and less time deleting bad shots. Bring extra batteries too. “It can get cold and zap your batteries and the rain is cold and unpredictable (especially in southeast Alaska),” says Adams.
6. Put Alaskan know-how to work:
Alaskan photographers know that some of the best tools you can bring with you are simple household items. “Bring a small, quick-dry towel, so you can keep shooting during drizzle and keep your lens clear,” says Wilder. “Also you can fashion a cheap plastic grocery bag around your camera and lens. Use a rubber band to hold it in place to protect the gear if it is a steady drizzle.”
Do you want to try your hand at Alaska photography? Find a cruise here.