Northern Lights Photography: How to Capture Aurora Borealis in Alaska
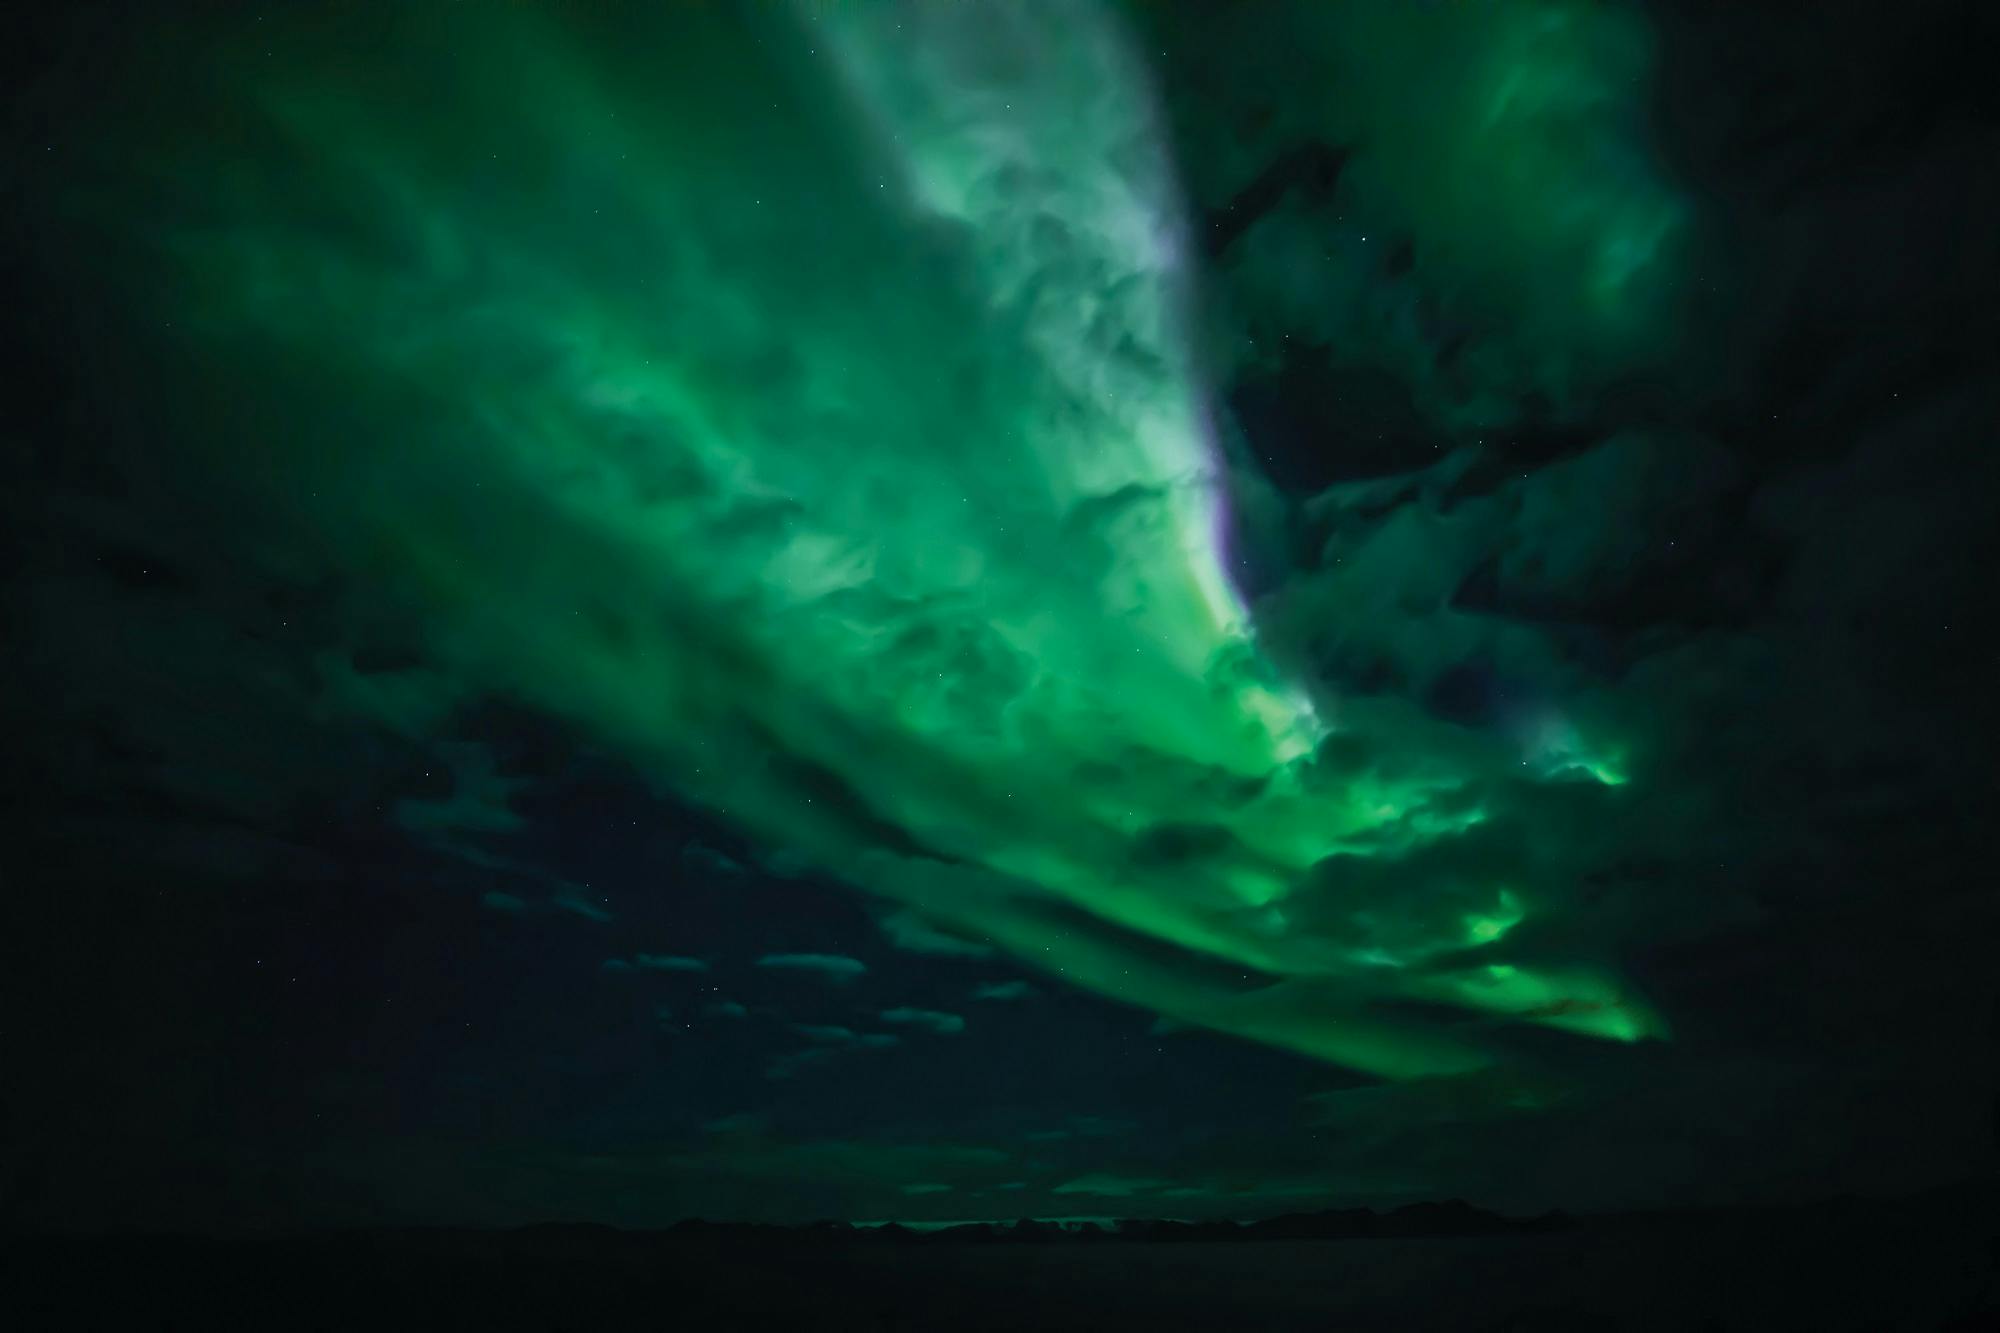
The first time I photographed the northern lights, I was on a mountaintop in Fairbanks, Alaska, near a natural hot spring. I saw a light gray swoop in the sky, held my camera as still as possible and snapped away. But my image was ultimately a blurry mess of green and tree. Yes, it was a photo of the aurora, but it failed to capture the magnificence of this natural phenomenon. It was clear I didn’t know the nuances of northern lights photography then.
Thankfully, I’ve come a long way in aurora borealis photography since then, and Alaska is still one of my favorite places to snap a shot. While Fairbanks will always have my heart, Nome, Juneau and Barrow are also top contenders for me now. Here are my best tips for photographing the northern lights and getting that perfect shot, whether you’re traveling on your own or on an organized Alaska northern lights photography tour.
1. Assemble the best equipment for Aurora Borealis photography
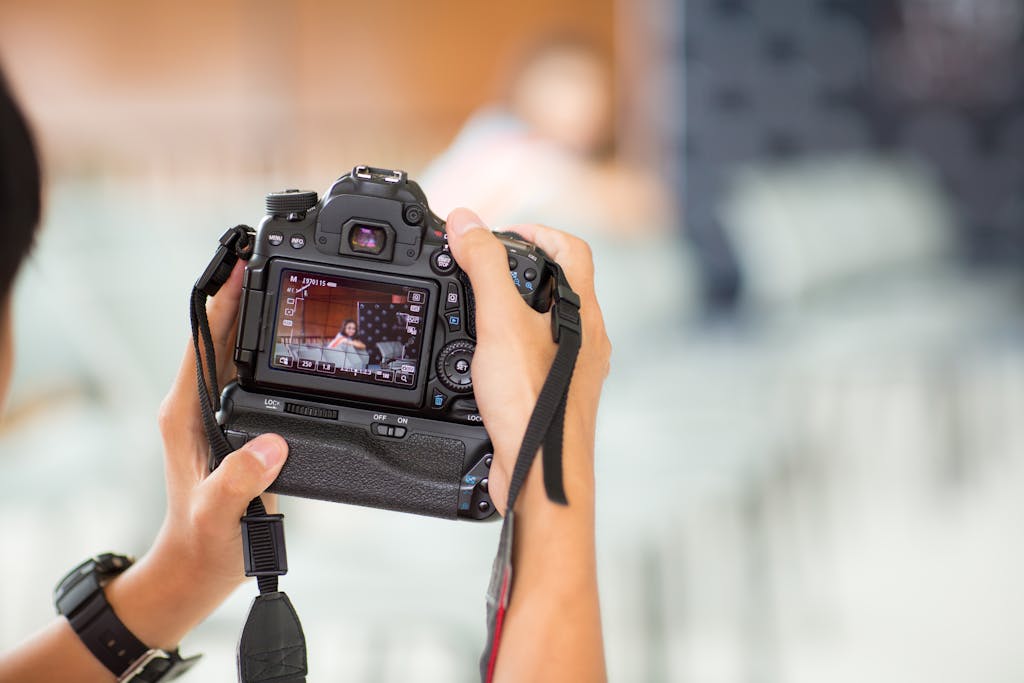
Although technically you can shoot the aurora with a point-and-shoot camera or cellphone, you’ll want a DSLR camera to be best prepared for night photography in Alaska. I use a Sony Alpha a6000, while Lucia Griggi, one of Silversea Cruises’ expert photographers, uses either a Canon EOS-1D X or a Canon EOS 5D Mark IV. You’ll also need a tripod to keep your camera steady and a lens cloth to wipe off any condensation or dirt. Additionally, a wide-angle lens will capture as much sky as possible, while a remote is useful for operating the shutter without touching the camera.
Don’t forget to bundle up, either, as most aurora shooting happens in the winter. Night photography in Alaska is usually quite cold, and you’ll likely be outside for quite a while. “You can anticipate that the first time you take the picture, it won’t come out,” adds Griggi. “It’ll probably take quite a few attempts.” Expect to be outside in the chill for several hours and dress accordingly.
2. Consult the radar

Most of us aren’t trained atmospheric scientists or space weather experts. But thankfully, we have Soft Serve News to help us with Alaska’s northern lights forecast. The website provides an updated forecast for aurora visibility every few minutes, along with information about space weather that could stop a showing even when everything looks good.
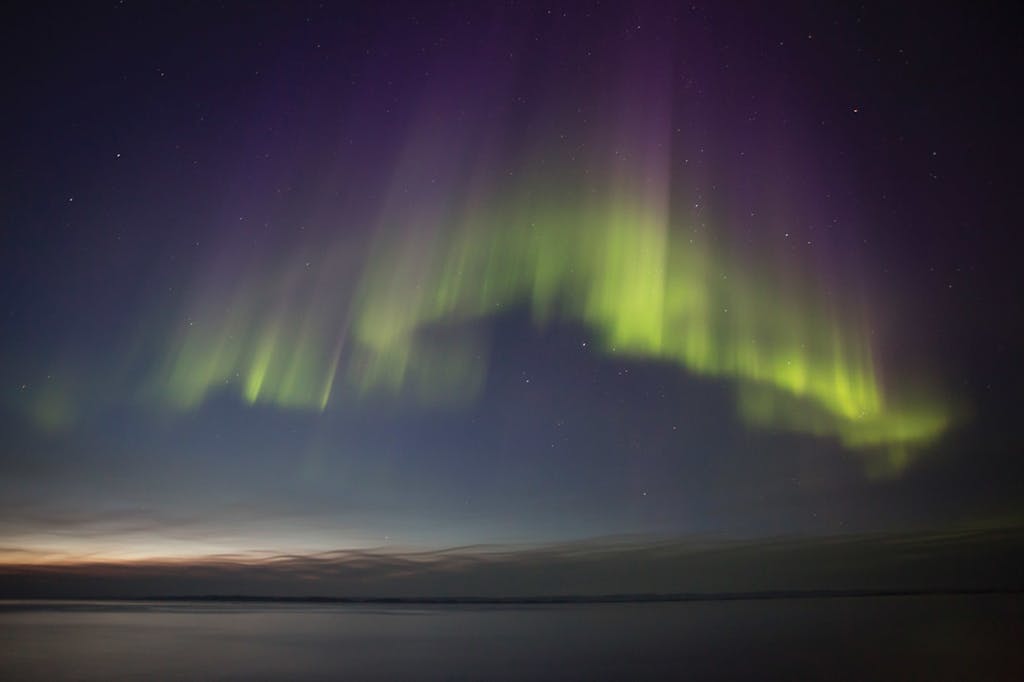
First, look at the maps on the site to determine your Kp number, which estimates how large the viewing area is going to be. That number on the map shows where you are compared to where the aurora is visible. If you’re in Anchorage at a Kp 3, for example, the forecasted Kp number will need to be a three or higher to potentially see it with the naked eye. But only if you also happen to be in a dark place with clear skies.
Look at the Bz next, which measures the solar wind. A negative Bz is ideal because that means the solar wind is pushing into the planet’s magnetic field — which results in an aurora. It’s uncommon for the Bz to be positive while the northern lights are on display. Ultimately, you want the Kp to be in your range or higher, while the Bz should be negative (the more negative, the better). If that’s the case, then dress in your warmest outfit and take your camera on a cosmic date.
3. Aurora Borealis photography settings
The right camera settings for the northern lights are highly dependent on the equipment you’re using, but here are some useful general guidelines:
- ISO: 800
- Shutter Speed: 30 seconds or more (Use a remote to operate the shutter, so you don’t have to physically touch the button on the camera and risk moving its position.)
- Aperture: f/2.8
- Focus: Infinity
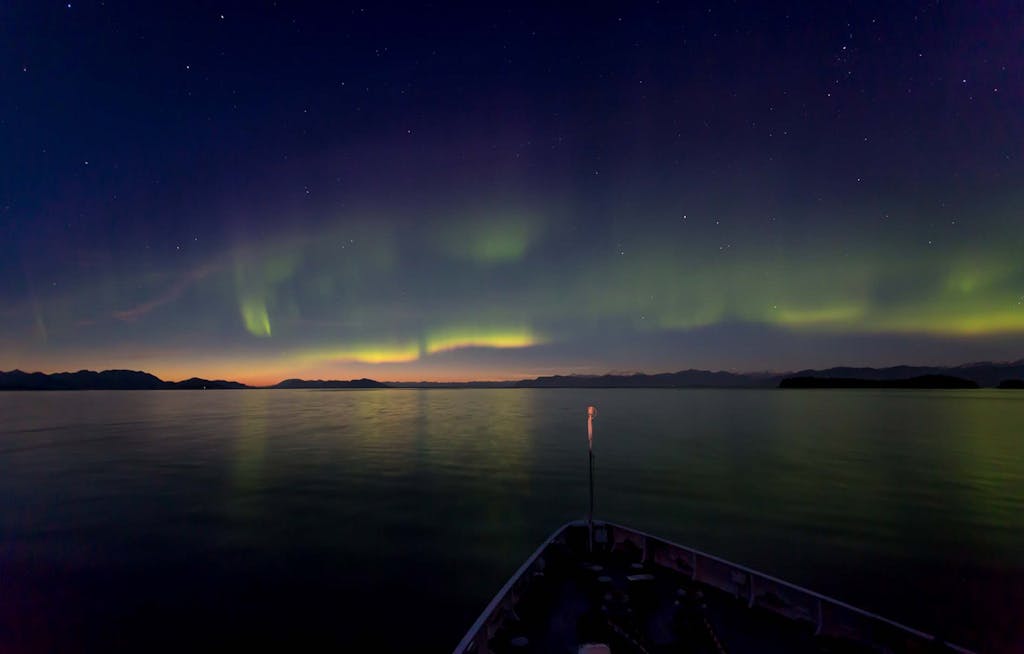
It’s useful to remember that the best time to see the northern lights in Alaska isn’t during the day. Depending on what the forecasts say, the best time to be out is between midnight and 2 a.m., when the sky is darkest and clearest.
Finally, don’t forget to add an intriguing element to your shot, aside from the lights. Try to give the image a sense of place by perhaps incorporating a mountain range in the background or shrubbery at the bottom of the picture.
4. Expect the unexpected
Remember, just like the weather here on the planet, space weather is continually changing and is even harder to predict. You could have everything set up perfectly and follow the forecasts exactly, but still end up with nothing. And even when the aurora cooperates, human error can be a factor. Despite her years of experience, Griggi once set up everything for a time-lapse shot overnight in the Hebrides. The following morning, she discovered her camera was pointed the wrong way, so only the very edge of the aurora appeared in her images. Prepare for the worst, but hope for the best — a beautiful, multicolored, spectacular photo of the northern lights.
Ready to go to Alaska to chase the lights? Learn more here.